Jump-starting a Ford F-250 with dual batteries requires special attention to ensure safety and effectiveness. Follow these steps to correctly jump-start your vehicle.
Tools and Equipment Needed
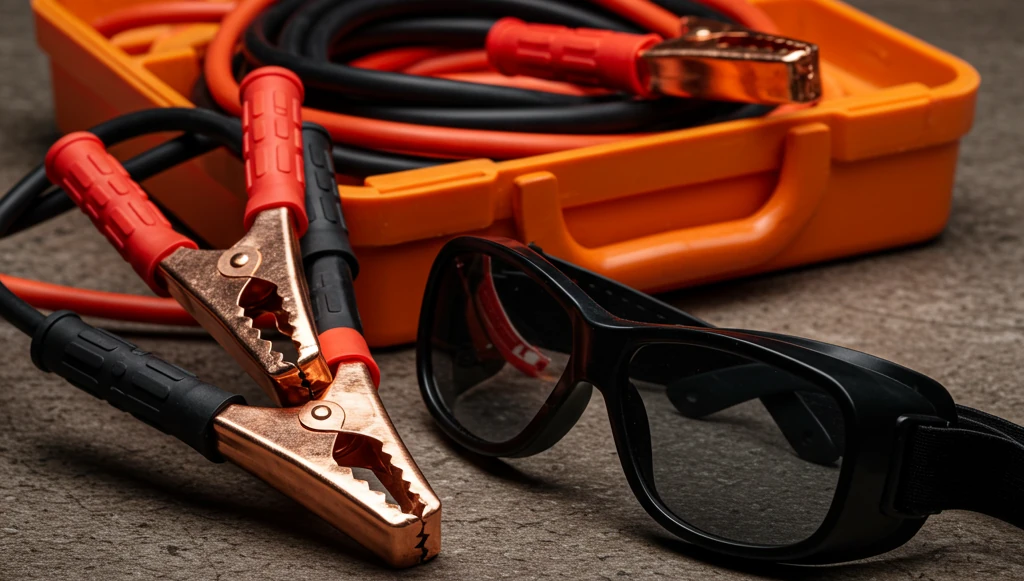
- Jumper cables (heavy-duty)
- Another vehicle with a charged battery🛻
- Safety gloves and goggles 🥽
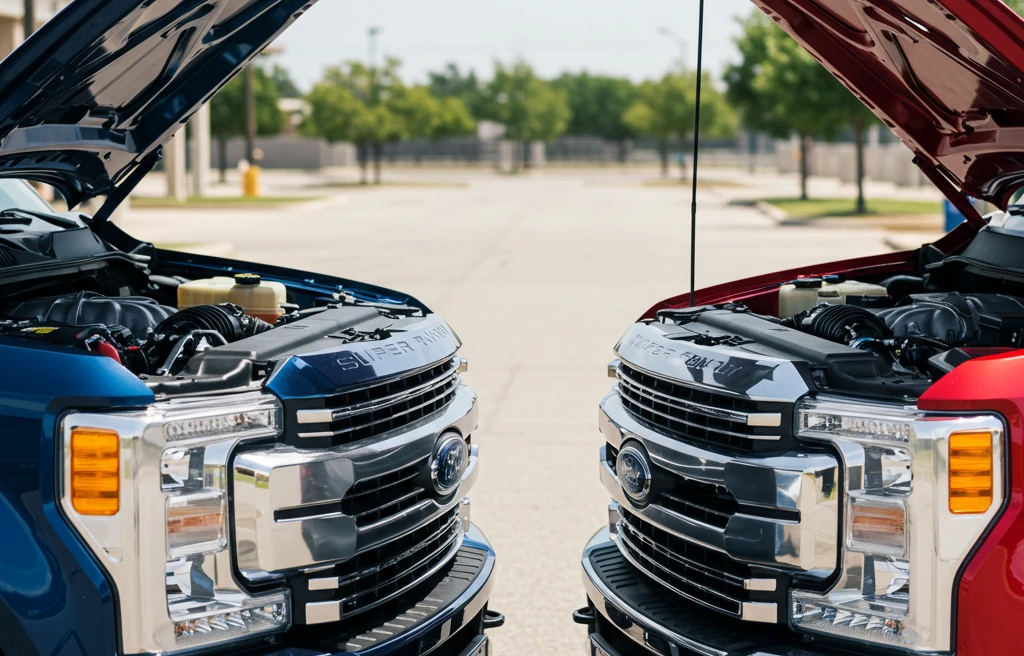
Step 1: Position the Vehicles
- Park the assisting vehicle close enough for the jumper cables to reach, but ensure the vehicles do not touch.
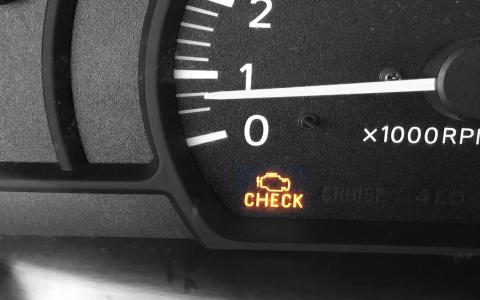
- Turn off both engines and set the parking brakes.
Step 2: Locate the Batteries
- The F-250 has two batteries: one on the driver’s side and one on the passenger’s side, connected in parallel.
- Open the hood and locate both batteries.
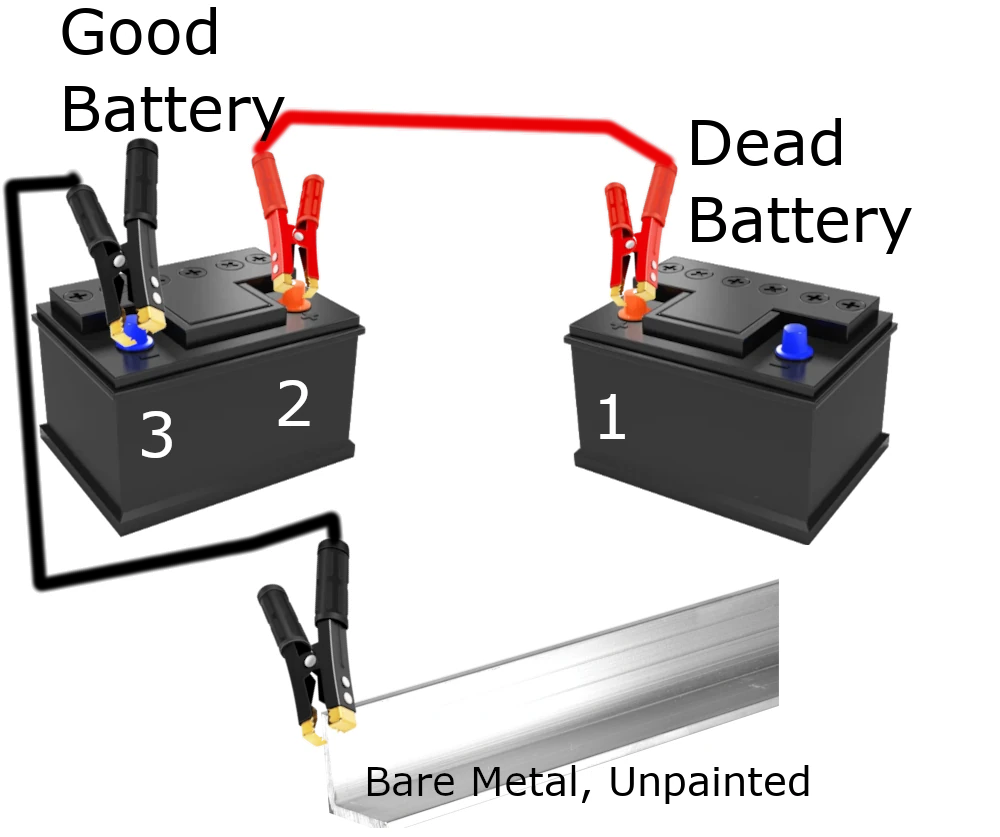
Step 3: Connect the Jumper Cables
- Connect the red (positive) cable to the positive terminal of the dead battery on the driver’s side.
- Connect the other end of the red cable to the positive terminal of the charged battery on the assisting vehicle.
- Attach the black (negative) cable to the negative terminal of the assisting vehicle’s battery.
- Connect the other end of the black cable to a grounded metal surface on the F-250’s engine block (away from the battery).
Step 4: Start the Vehicles
- Start the assisting vehicle first, then attempt to start the F-250.
- Allow the F-250 to run for a few minutes before disconnecting the cables.

Step 5: Disconnect the Cables in Reverse Order
- Remove the black cable from the F-250 engine block.
- Disconnect the black cable from the assisting vehicle.
- Remove the red cable from the assisting vehicle.
- Disconnect the red cable from the F-250 battery.
Safety Tips
- Never touch the cable clamps together.
- Ensure cables are securely connected to avoid sparks.
- Check the battery connections before starting the vehicles.
Following these steps will help you safely jump-start your Ford F-250 with dual batteries. Always exercise caution and follow manufacturer recommendations for your specific model.


![What Ford F150 is Best for Towing ? [Full Guide]](/sites/default/files/styles/frontpage_stories/public/2025-04/f250-camping.webp?itok=6Ah370zB)